
From market research to leads in your CRM
Goal
Find companies that fit your ideal customer and save them to your CRM, tagged so you can reach them later. Plan about 30 minutes. Some steps run in the background and take a minute or more.
Note: The Leadfinder screen stays in English in the Dutch, German and French app.
What you need
- A description of what you sell and who buys it.
- An account that can open Leadfinder in the left menu. Allowances can depend on your plan; see Pricing.
Steps
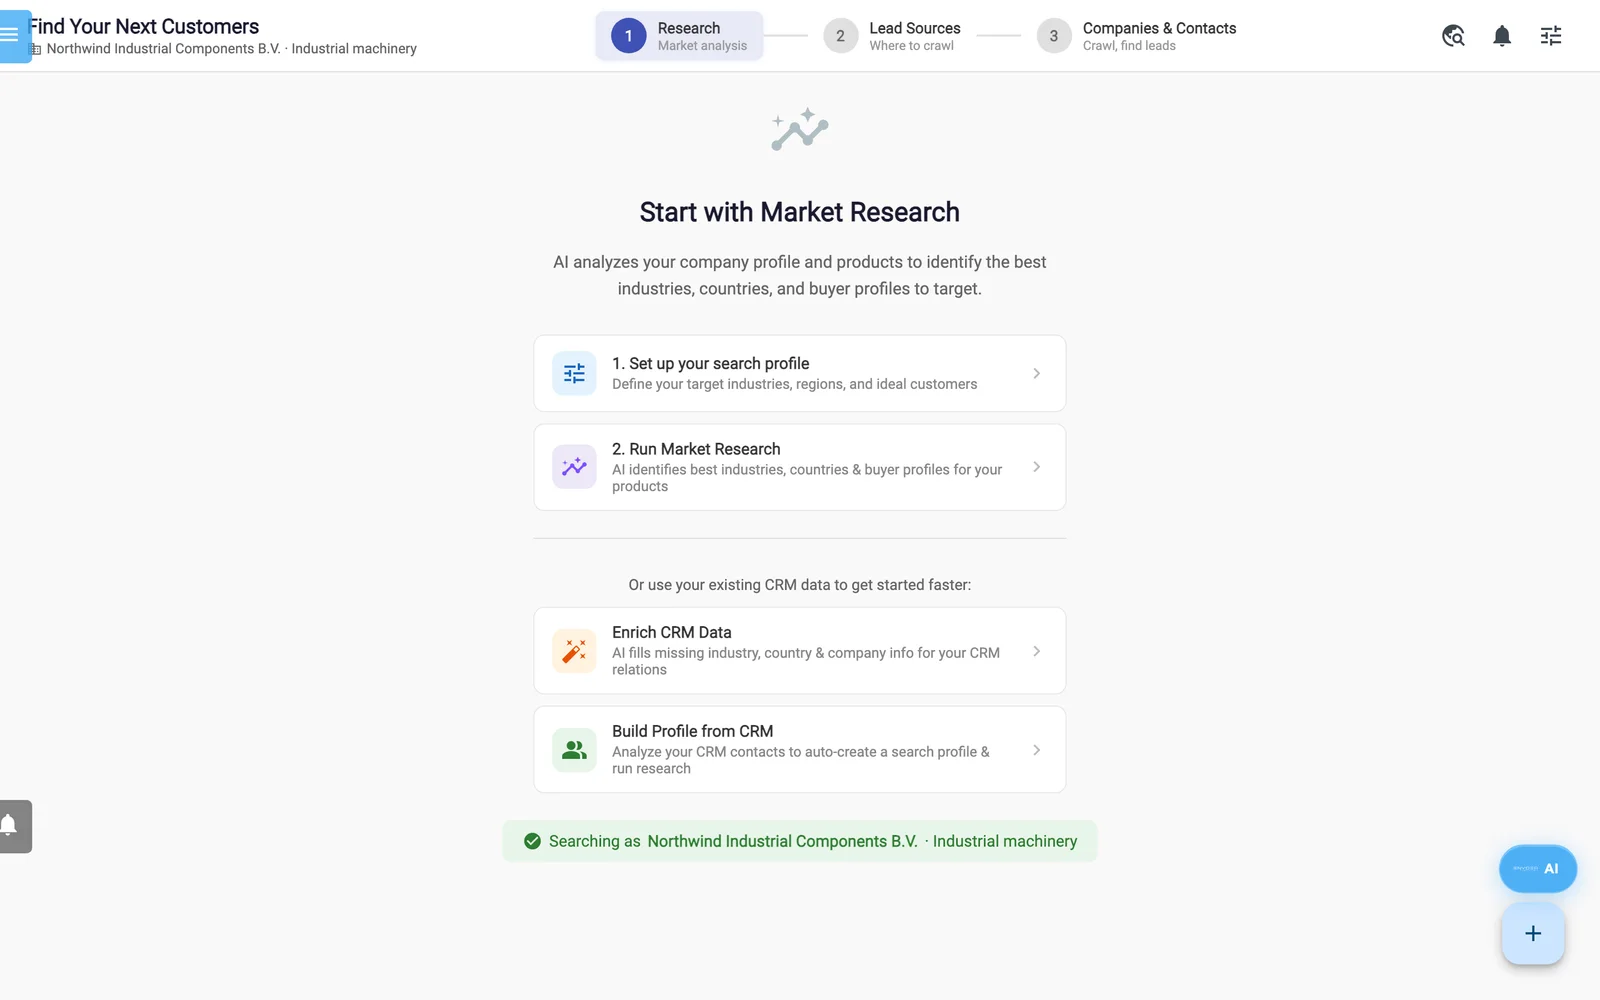
LeadFinder, Research step.
- Open Settings -> Account and scroll to Business Profile. Fill in Company Description, Products, Services, Target Industries, Target Markets / Regions, Ideal Customer Profile and Keywords. Click Save Business Profile. The Setup Wizard can fill this in for you.
- Open Leadfinder. Click 1. Set up your search profile. Set Industries, Country/Region, Company Size and Preferred Contact Function/Position. Click AI Autofill for empty fields, then Save.
- Click 2. Run Market Research. In Configure Market Research, check Products, Target Markets / Regions and Example Customers, then click Run Market Research. Watch the LeadFinder Tasks strip. It takes 1-2 minutes.
- Read Top Industries, Top Countries and Campaign Segments. Click Add as Tag on the segments you want to target. Optional: click Enrich Market Data.
- Click Find Lead Sources →. When the sources are ready, Step 2 opens.
- Pick a source with a high score and click Crawl. In Create new lead Search, tick Extract Contact Persons and click Run Search. To crawl everything at once, click Crawl All Sources (n) instead.
- When the crawl finishes, Step 3 opens with the new search selected under Recent Searches. The companies it found with their own website are already saved as relations, without tags. Use With Website and With Email to focus on companies you can reach.
- Click Enrich Emails to look for missing addresses. A message tells you how many were found and what the lookup cost. If the cards do not change, click the search under Recent Searches again.
- Skip Check for Duplicates here. It would also flag every company the crawl has just saved, and Add selection to Relations does not create a company with the same name, website or email twice.
- In Tags for saved relations, check that your segment tags appear. Add one more of your own, for example a campaign name, and press Enter. These tags only reach the relations the next step creates, such as companies without a website.
- Tick the companies you want, or click Select All. Click Add selection to Relations. A message reports how many new companies were saved and how many existing companies received contacts.
Warning: Do not use Find Contacts for Selection or Smart Find Contacts to collect contact persons. They do not reliably save the people they find. See LeadFinder.
Check your work
- Open Relations and search for one of the companies by name. Filtering by Tags finds only the relations that Add selection to Relations created.
- Open one. The Discovered via LeadFinder chip shows where it came from.
- Open its Contact Person tab to see the contacts that came with it.
- A company that matched an existing relation is not added again. Its new contacts went to the existing relation; if the address, city or country differed, a subsidiary was added as well.
Next steps
- Turn the relations into an audience with a dynamic list. The Discovered by LeadFinder filter with the address of the directory you crawled also finds the companies without tags: Mailing lists and segments.
- Email them: Tutorial: your first campaign.
- Learn every button: LeadFinder.